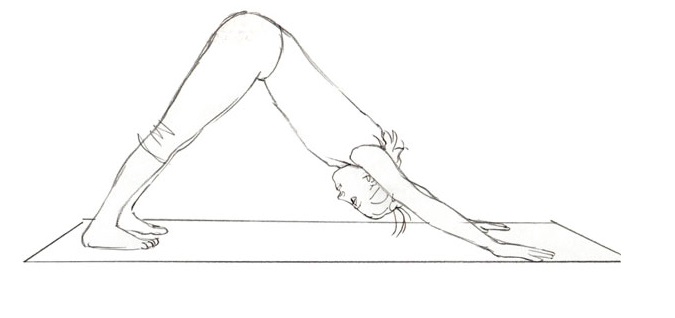
We often do poses without understanding why we do them. Downward Facing Dog is one of the most famous poses, something that most people, including non yogi’s have probably seen a picture of. We all therefore have an image of what the pose should look like without the understanding of how to achieve the pose or which aspects are more important to accomplish first.
How you get into a pose and ensuring that your posture is correct is more important that obtaining that final “picture/shape”.
What are we working on during downward dog?
This is a pose that lengthens and strengthens all of the musles along the back of the body, from the shoulders all the way down to the calves and along the base of the foot.
The areas where it is most obvious to see this is in the hamstrings and shoulders (deltoid muscles) as these are the ones that are often tight and where we start to feel the pose working first.
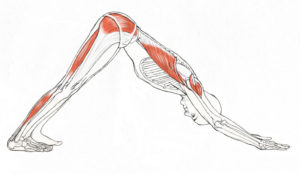
This is however a pose that works the entire body. Arm strength is needed to help keep your back in alignment and to keep you balanced; core and back strength are needed to help lengthen the spine and push the coccyx up and back; the quads need to be engaged to allow the hamstrings to release and the feet to give stability to the pose.
Doing this pose correctly has many benefits, a few of these are that it will help with posture, relieve tension in the spine and assist in circulation as the head is below the heart
What are the key steps for Downward Dog?
It is more important to have a neutral spine than to have your legs straight and your heels on the floor.
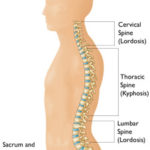
A neutral spine, is one where the natural curves of the back are followed, without trying to emphasise a curve or a lessening of that curve. Keeping the spine neutral, enables the muscles and joints in the body to work correctly and to their full potential.
Start the posture with knees and feet hip width apart and hands and elbows shoulder width apart while lifting the coccyx up and back. The next step is to ensure that you have a strong, solid foundation. Spread the fingers wide and push down through all the finger joints, really engage your legs ensuring that the heels are pointing directly backwards.
From here, roll the shoulders back and away from your ears and push up through your hands and back. Ultimately working towards a flat/neutral back. Keeping the knees bent until the spine is truly in a neutral position is key. Only once the spine is in the correct position should a person work on straightening their legs.
What should I be doing with my breathing?
Ideally you should exhale into the posture, and your breath should remain even and controlled throughout, always breathing through your nose. If at any stage breathing becomes laboured or short or you start to breathe through your mouth then you have taken the posture too far and need to pull back a bit.
Other pointers and tips
The head should hang heavy, releasing any tension in the neck with the gaze towards the navel or between the legs
Bending the elbows very slightly helps to ensure that all the muscles in the arms are being used to support you rather than just locking out the joints which could cause injury
This pose is just as effective done on the forearms with a straight spine and legs or on the knees with straight arms and spine
